I've gotten a few emails about textures so that's today's tutorial. Well, not a tutorial--more like "this is how I cheat and do it, which is probably wrong"
I tried all kinds on online photo tutorials on how to insert textures. They're great and all, but it kind of takes some time and more often than not, I forget halfway through it how to finish.
Until I found this freebie! It's from Nicole V (who's pretty soaked in awesomeness) Select and download the "Texture File and Action Set" (which works in Adobe Photoshop 7 or higher)
If you don't know how to load an action, look right here.
Then you need some textures. I think textures are personal taste, but I found tons of free ones. Some I use often are here (free!) but you can Google "free photoshop texture" and get tons. (note: did I say "tons" enough times? Sheesh)
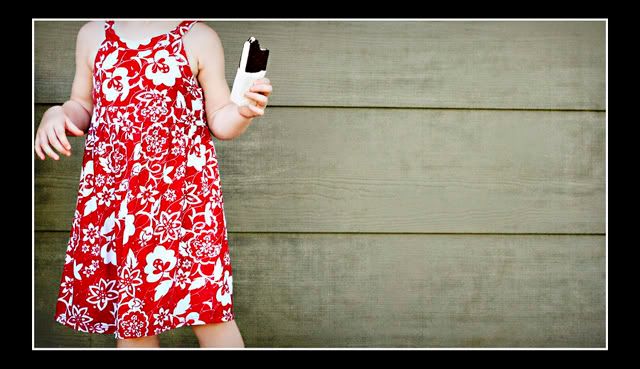
Make sure you have both the photo you want to apply the texture to and the actual texture open in Photoshop. I used one of Kate in the backyard. Since there was so much wall in the picture, I want it to have more OOMPH! (I don't know if you can understand all these technical terms again. "OOMPH!")
Then you really just press play and do what the action tell you. Seriously, it's easy. You can totally do it. I used this specific texture.
Here's my before and after.
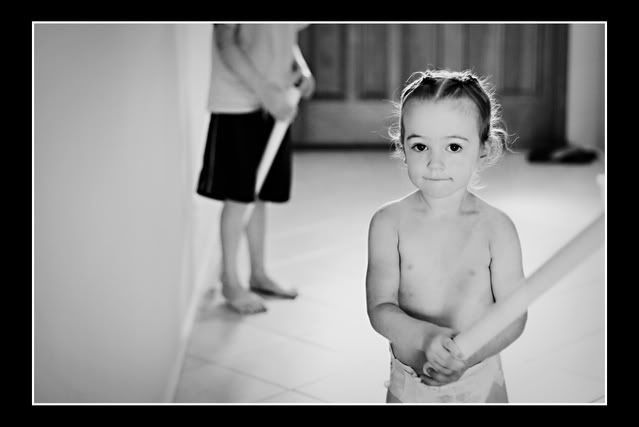
If you guys have questions about this (or what the actual definition of "OOMPH") let me know! Don't be afraid of texture--you can stick them everywhere! See?


